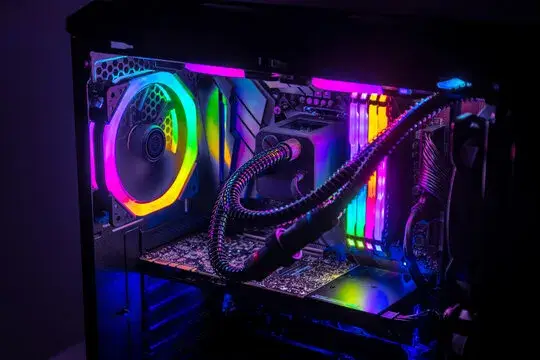
Adding a new hard drive to your computer is a great way to boost storage, replace a failing drive, or upgrade performance (especially with an SSD). While it might sound intimidating, installing a hard drive is a manageable DIY project with the right steps. Here’s how to do it safely and successfully.
What You’ll Need
Before you start, gather these items:
- A new hard drive (HDD or SSD, compatible with your system)
- A screwdriver (usually Phillips-head)
- SATA cables (often included with the drive or motherboard)
- A power supply connector (check your PSU has a free one)
- An antistatic wrist strap (optional, but recommended)
- Your computer’s manual (for specific layout details)
Step 1: Power Down and Prep
Safety first—shut down your computer completely and unplug it from the wall. Press and hold the power button for a few seconds to discharge any residual electricity. Move your PC to a clean, well-lit workspace, ideally on a non-static surface like wood or tile.
Step 2: Open the Case
Remove the side panel of your computer tower:
- Most cases have screws or thumbscrews on the back—unscrew them with your screwdriver.
- Slide or lift the panel off (check your manual if it’s tricky).
- Ground yourself by touching a metal part of the case or wearing an antistatic wrist strap to avoid damaging components with static.


Step 3: Locate the Drive Bay
Find an empty slot for your new hard drive. These are typically metal or plastic bays near the front of the case:
- For 3.5-inch HDDs, use a larger bay.
- For 2.5-inch SSDs, you might need a smaller bay or an adapter bracket (often included with the drive).
If you’re replacing an old drive, identify it, disconnect its cables (SATA data and power), and remove it by unscrewing it from the bay.
Step 4: Mount the Hard Drive
Secure the new drive in the bay:
- Slide it into place and align the screw holes.
- Use the screws provided with the drive or case to fasten it. Don’t overtighten—just make it snug.
- For SSDs with an adapter, attach the SSD to the adapter first, then mount it in a 3.5-inch bay if needed.
Step 5: Connect the Cables
Hook up the drive to your motherboard and power supply:
- SATA Data Cable: Plug one end into the drive and the other into an open SATA port on your motherboard. These ports are usually labeled (e.g., SATA1, SATA2).
- Power Cable: Connect a SATA power cable from your power supply unit (PSU) to the drive. It’s a thin, flat connector with an L-shaped plug.
Double-check that both connections are firm but not forced.
Step 6: Close the Case
Once everything’s connected, tidy up any loose cables inside the case with zip ties or clips (optional, but it helps airflow). Slide the side panel back on and secure it with the screws.
Step 7: Power Up and Check
Plug your computer back in and turn it on. Enter the BIOS/UEFI (usually by pressing a key like Delete, F2, or Esc during boot—check your manual) to see if the new drive is detected. If it shows up, you’re good to go!
Step 8: Format and Set Up the Drive
If the drive isn’t pre-formatted, you’ll need to initialize it:
- Windows: Open Disk Management (right-click Start > Disk Management), find the new drive, right-click it, and choose “Initialize Disk.” Then create a new partition and format it (NTFS is standard).
- Mac: Use Disk Utility (Applications > Utilities > Disk Utility), select the drive, and click “Erase” to format it (APFS or Mac OS Extended are common choices).
If you’re installing an OS on the new drive, boot from a USB installer or disc and follow the prompts.
Troubleshooting Tips
- Drive not showing up? Check cable connections or try a different SATA port.
- PC won’t boot? Ensure the boot order in BIOS prioritizes the right drive.
- Noise or heat issues? Confirm the drive is secure and not obstructed.
Final Thoughts
Installing a hard drive is a straightforward upgrade that can breathe new life into your computer. Whether you’re adding extra space or swapping in a speedy SSD, taking your time with these steps will ensure success. Now enjoy your expanded storage or faster system!
.
